Clamshell
by John Denton
One of the lighting setups I demonstrated on the SPTV broadcast from London was clamshell lighting. It's a lighting arrangement everyone should have in their armoury so here's a few thoughts on it.
It's one of the easiest and most effective techniques for adding real gloss to your subjects. If you were one of the lucky ones who came along to the Digital Imaging Show in Birmingham you may have seen Kerry and I demonstrating it. We will certainly have it in our repertoire at Convention.
It may be a setup you already use albeit unwittingly. I start all my shoots with natural light headshots. Finding some muted light and having my subject sit down and putting a reflector on the floor in front of them. Instant Clamshell. You have the natural light coming down onto your subject, filling their face with light and then bouncing off the reflector to lift any shadows forming under eyes, nose or chin.
That's Clamshell lighting in the raw. The majority of the light coming from the top with a lower power fill light from below. How you achieve that, well let's explore a few looks.
The first is what I talked about earlier. Here we have Kat sat in the doorway to my studio. It was afternoon and so there was no direct sunshine coming through the door. I sat her on a stool and placed a silver California Sunbounce on the floor in front of her. This really lifted the shadow areas and gives a nice crispness to the skintone.
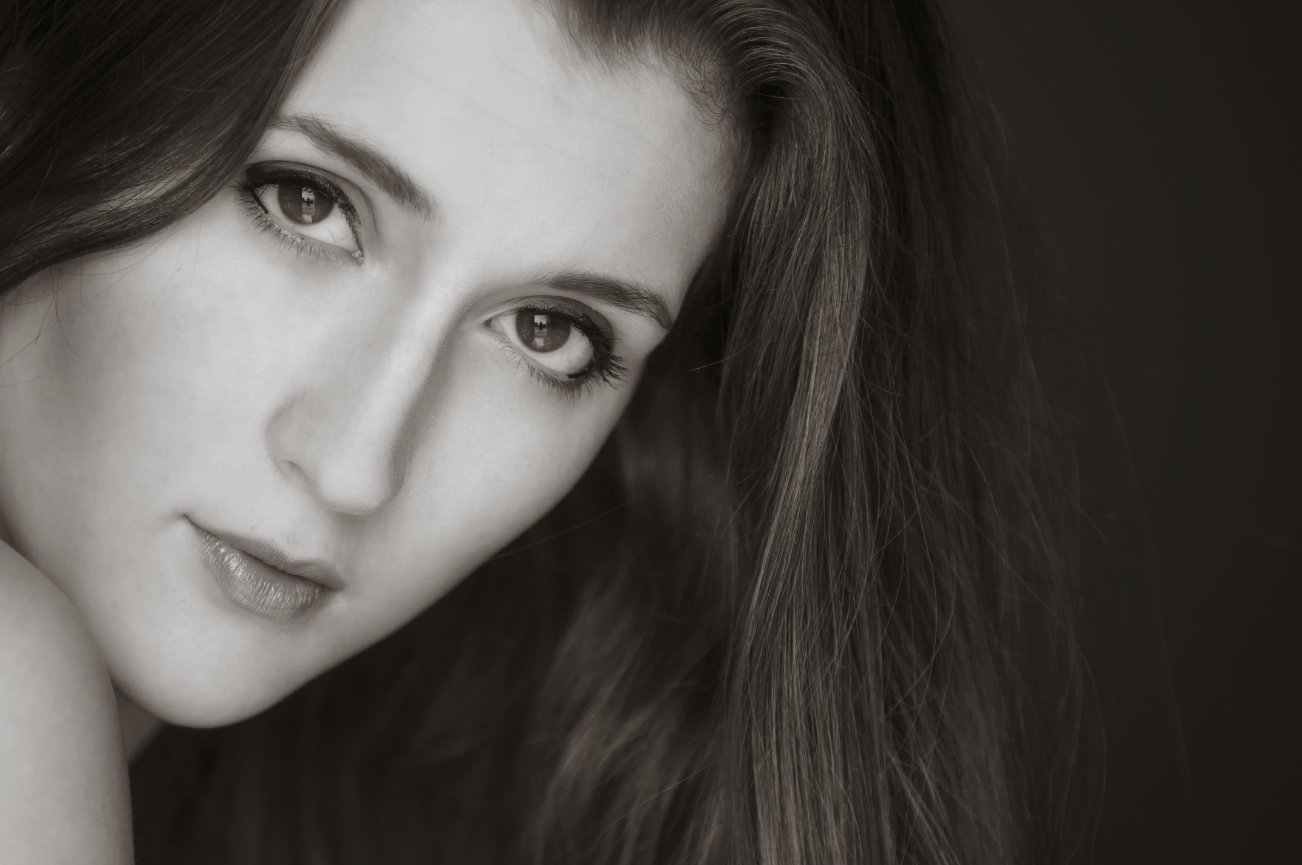
Spot metering from the skintone gives the exposure and shooting with wide open aperture on a 70-200mm lens at f2.8 gives a lovely shallow depth of field.
However I did say that this was a technique for the gloomy winter days so let's take it into the studio.
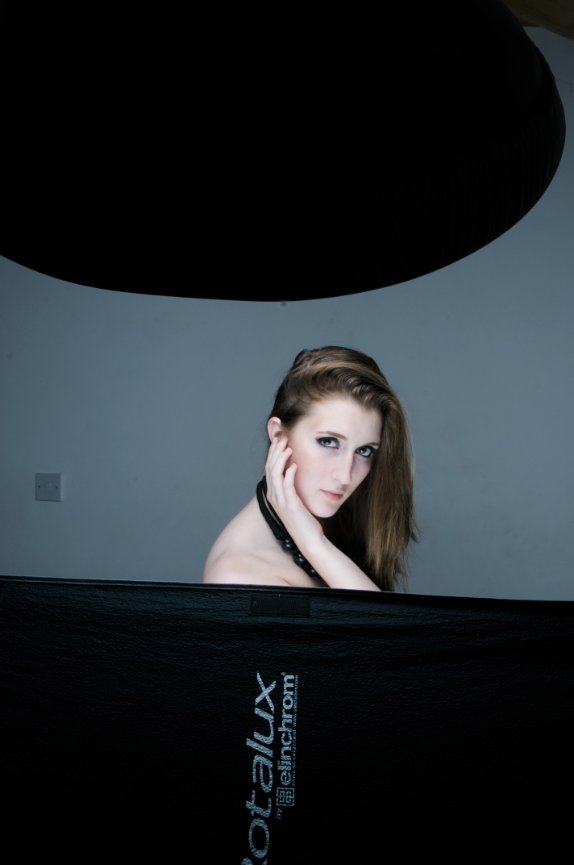
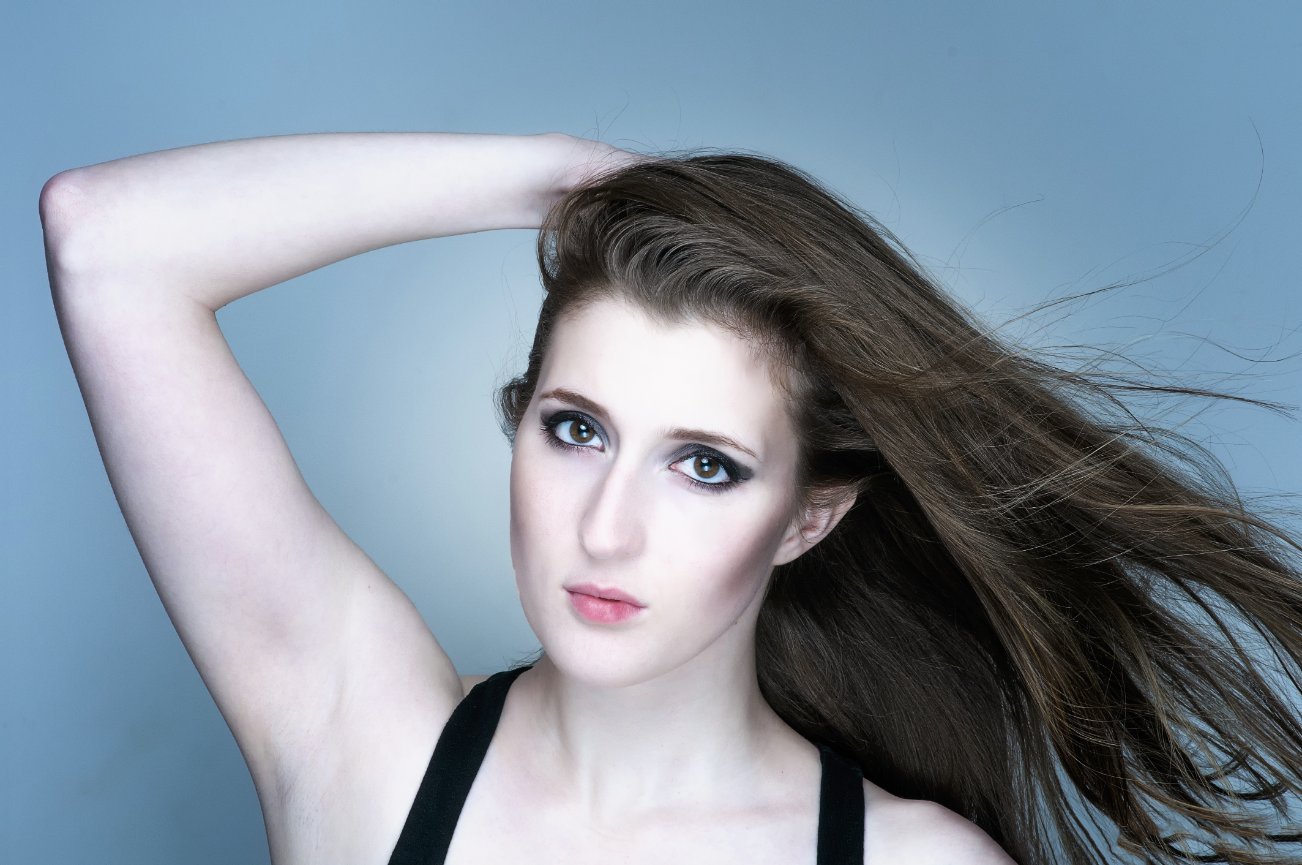
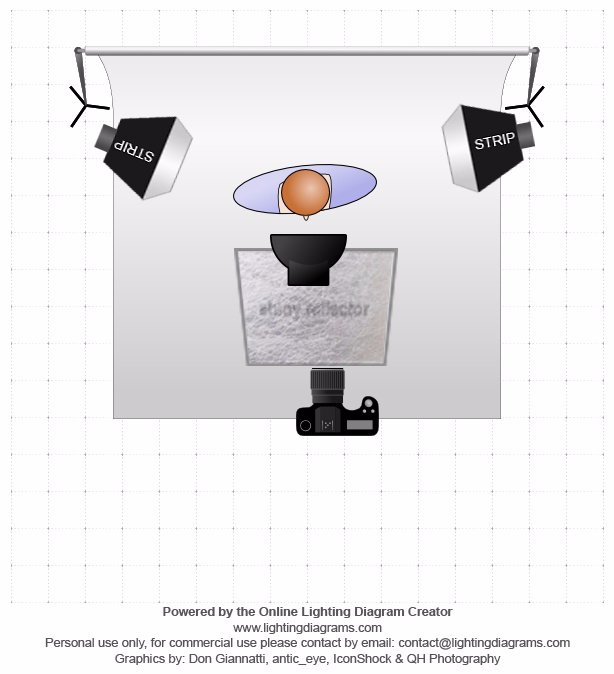
In this first image we replicate the doorway technique using one flash and a reflector. The flash is my trusty Elinchrom Quadra Ranger but how to modify it? Your choice of modifier will have a huge influence on the way the image looks. For instance a softbox will drop soft light all over your subject with long transitions between light and shade, an umbrella even longer transitions where as a small grid will go from light to shade extremely abruptly. My modifier of choice is a beauty dish, silver on the inside and placed close into the subject. For female subjects I put a softening sock over the front of the dish, for males I leave it off for a harder, grittier light.
It's preferable to have a boom arm on which to mount your key light in order to get it straight in front of your subject. Putting it on a stand will mean you're competing for position with the stem of the stand or you have to put the light to one side which will create shadows.
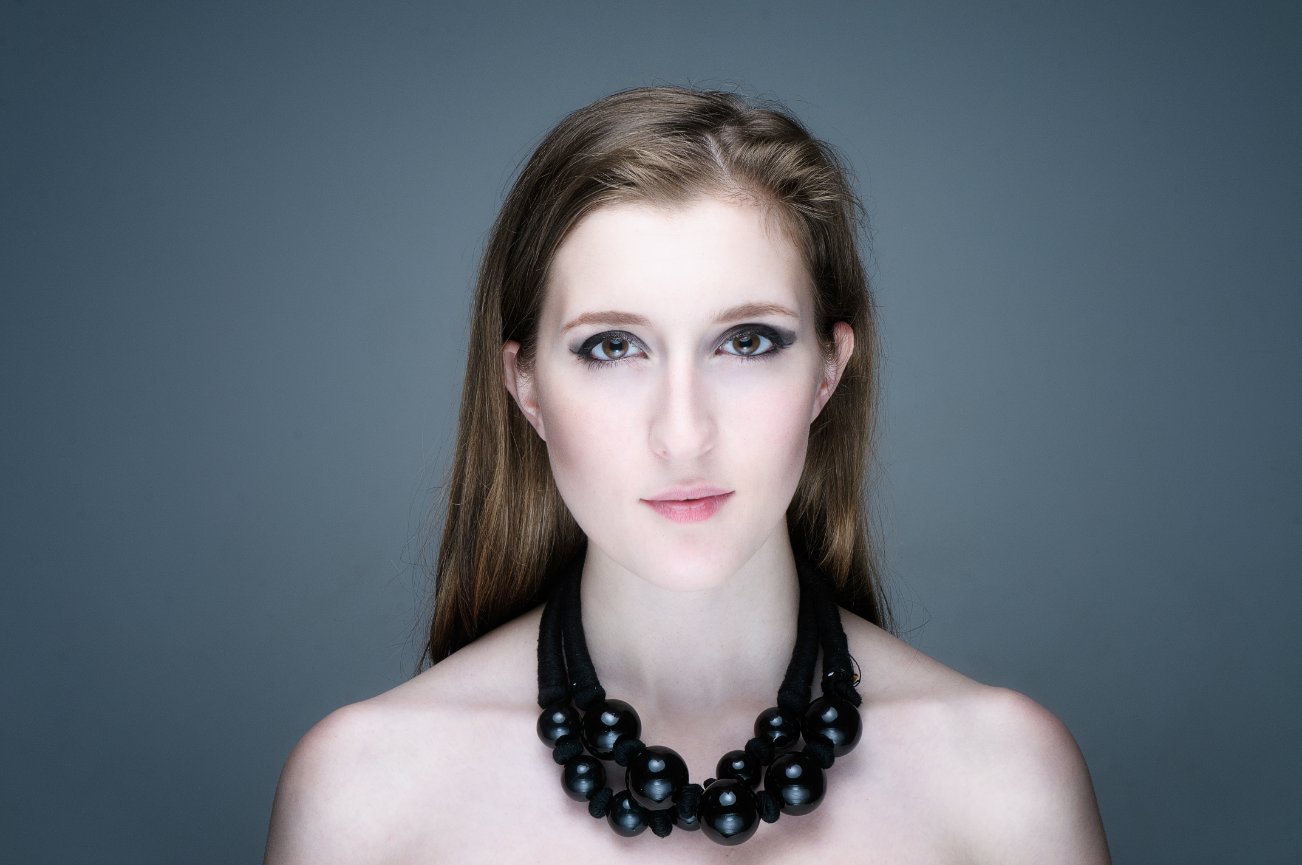
In this first image we see the effect on Kerry of a beauty dish and reflector combination. Shot at ISO200, 1/200s and around 6ft from the backdrop. Because the beauty dish is close in to her there is very little spill giving a dark black background and crisp clear light on Kez.
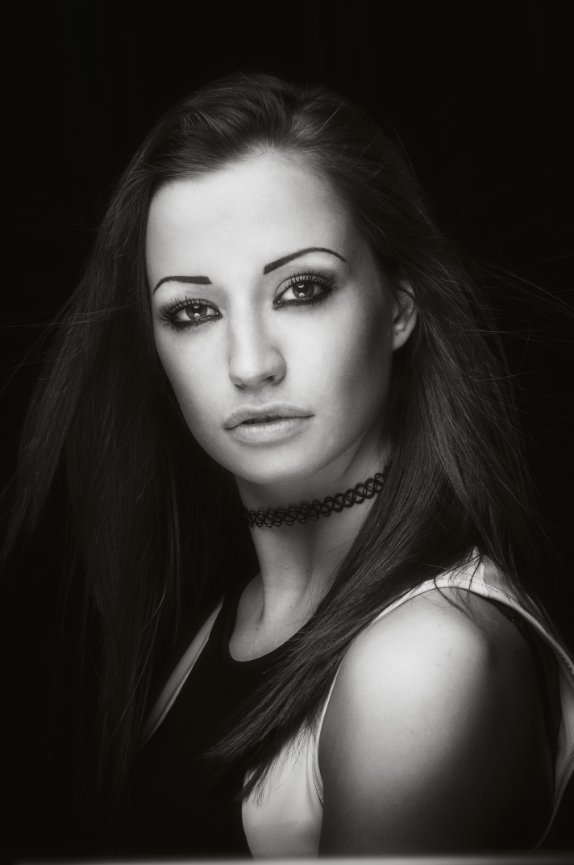
You can see that the reflector softens the shadows under the chin but doesn't totally eliminate them.
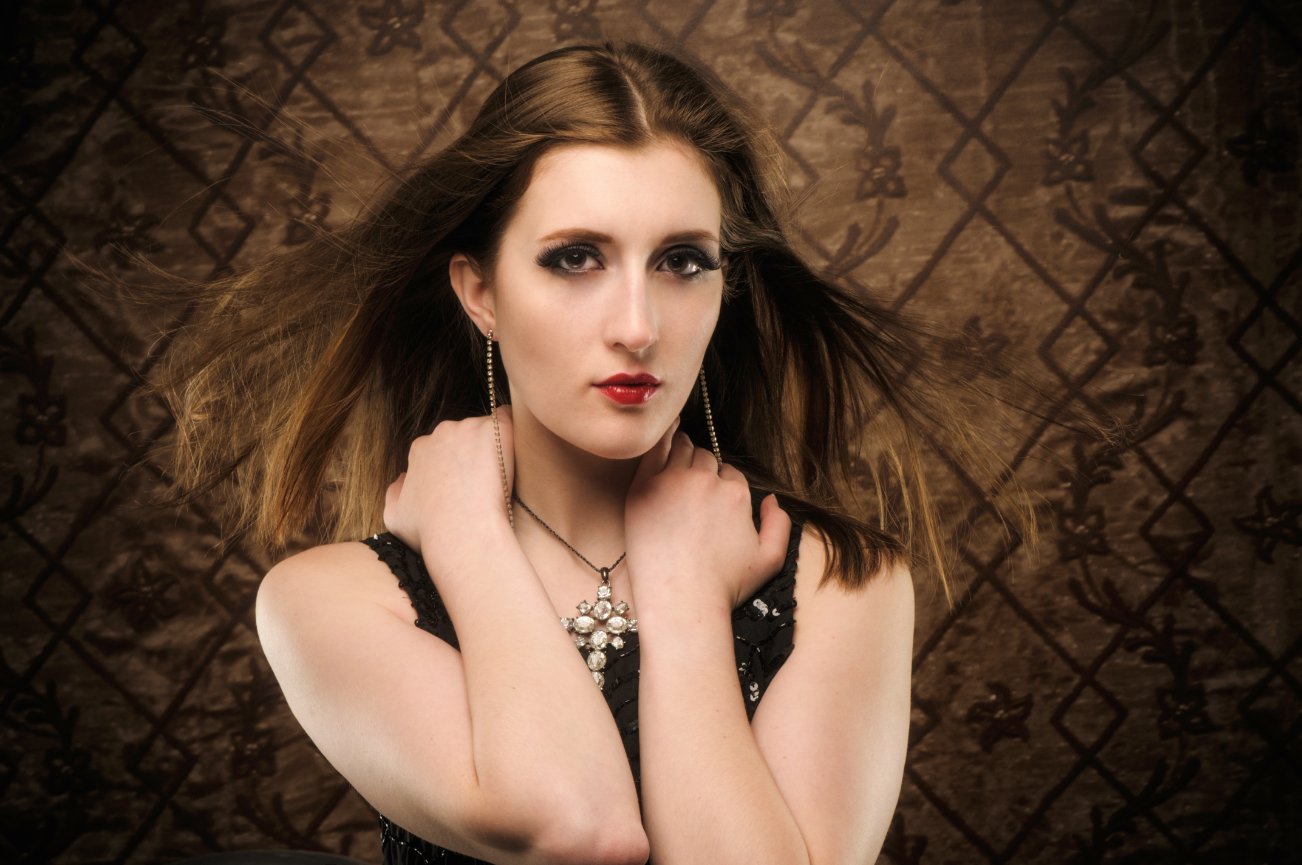
If you want a stronger light underneath then why not add a second light? For this light I like to use a strip softbox angled upwards. You don't want the power of this light to be stronger than that coming from above as that would lead to shadows going upwards which is never attractive. Instead play around with the output of this light and see the different effects you can generate but always keep it weaker than the main. If your subject poses with their stomach touching the edge of this light then they are bathed in a pool of beautiful light and you have a small gap between the two modifiers in which to shoot.
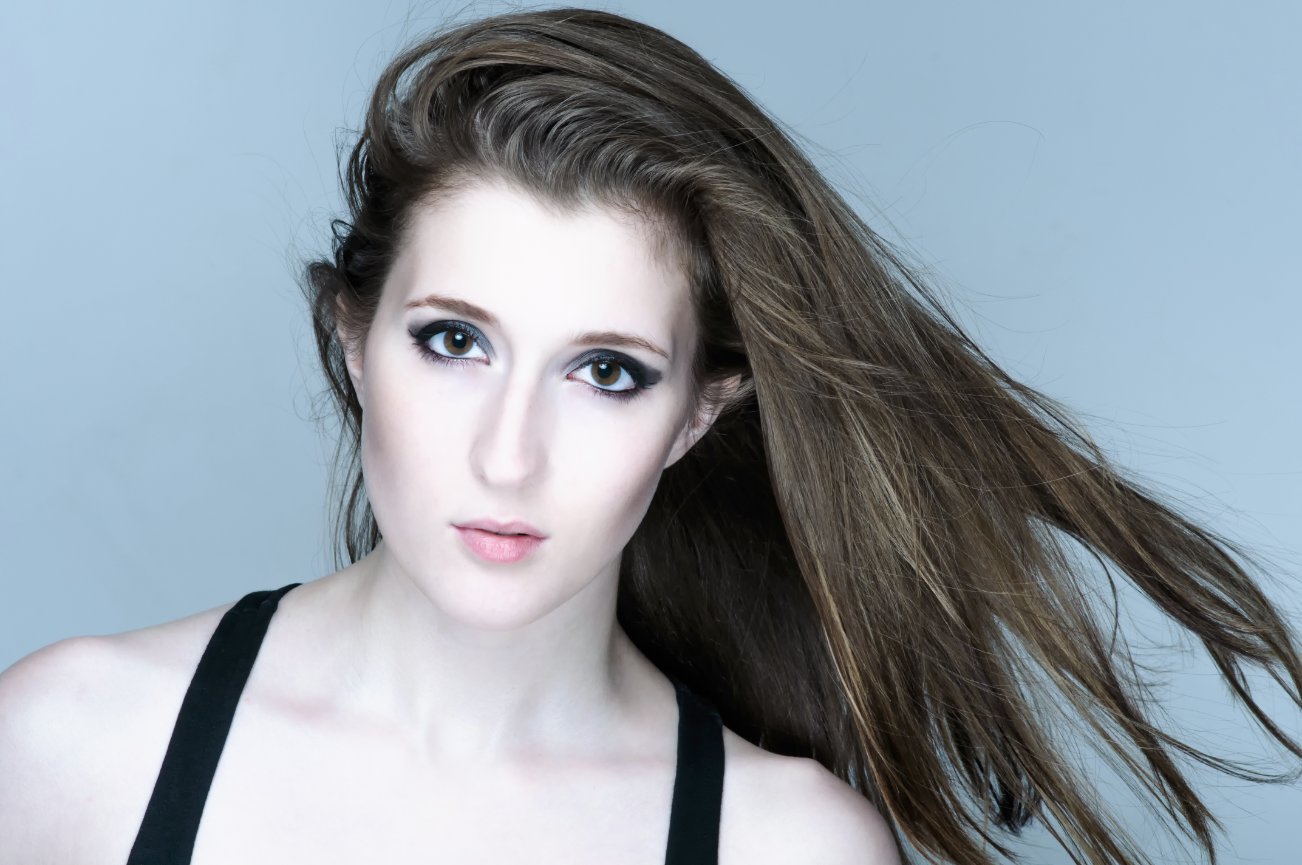
For a variation on the theme then have your subject step backwards. Angle the bottom light towards them to add light at the bottom of the frame and make sure the top light is hitting their faces. This gives a great high key lighting setup that lights evenly from top to toe.
Finally we introduced a three light one reflector set with a strip box either side of Kat and the Beauty Dish from the front with reflector under the chin. A fan was used to give some movement in the hair.
Catchlights
This setup gives great catchlights in the eyes, watch out for them and control their appearance. Classically you'd be looking to have only one in each eye and at the 11 O'Clock or 1 O'Clock positions. If you get the bottom light or reflector appearing in the eye you can drop it down out of shot, or remove later in post production.
So there is an instant guide to clamshell lighting, experiment, have fun and let me know your results.
www.johndentontraining.com
www.dentonnudes.tumblr.com
www.dentonphotography.blogspot.com
Thanks to Click Props for the brown backdrop. Models Kerry and Kathryn will both be working at the Convention (SPWW 2015) with John.