 |
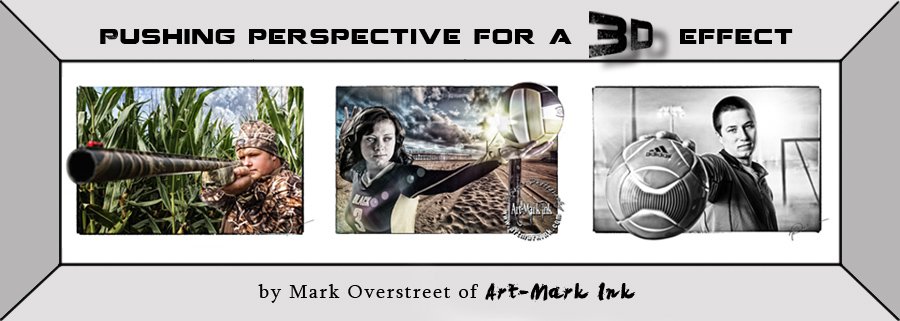
I have had many requests to show how I do my 3d effect style images, so I finally took the time to sit down and write a very direct tutorial that assumes you know how to navigate through your version of PS without going into extreme step by step detail.
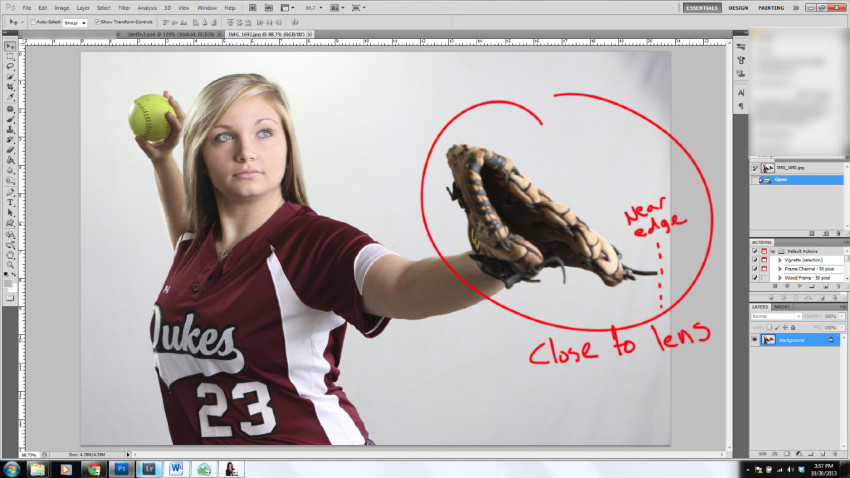
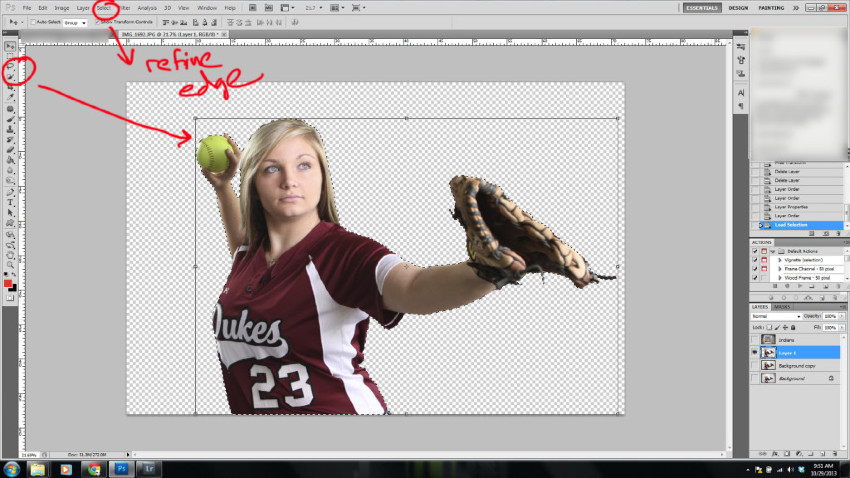
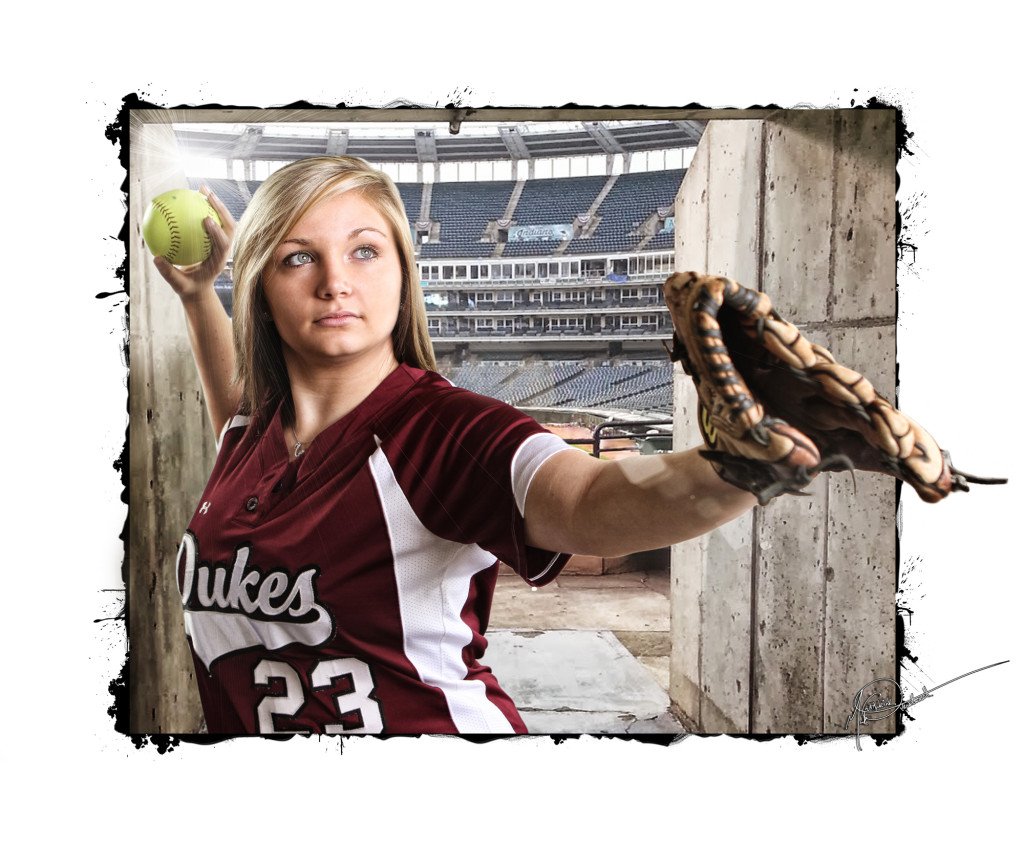
This is a very popular session I have been offering my seniors! It is a perspective that gives the simple illusion of 3d. When photographing for this effect it works best to have the object or part of the body that you want to extend past the border closet to the camera. In this example it is the girl’s glove. This can be done with a background, at a location or as a composite. In this particular example I did it as a composite so you will get some bonus info on creating a composite.
|
First you want to make a clean selection of the subject then make a new layer via copy. Why copy, because I generally will set the new background to 90-95% opacity so some of the fine details that are impossible to select in the image layer show through to make the end result more believable.
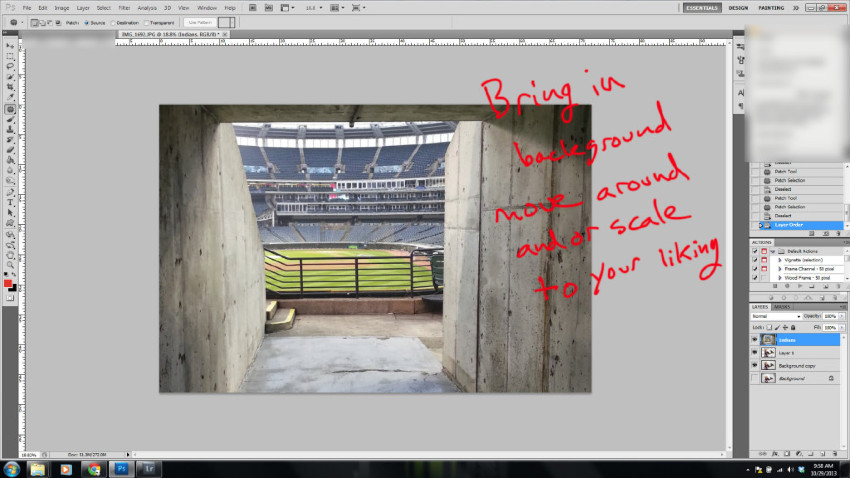
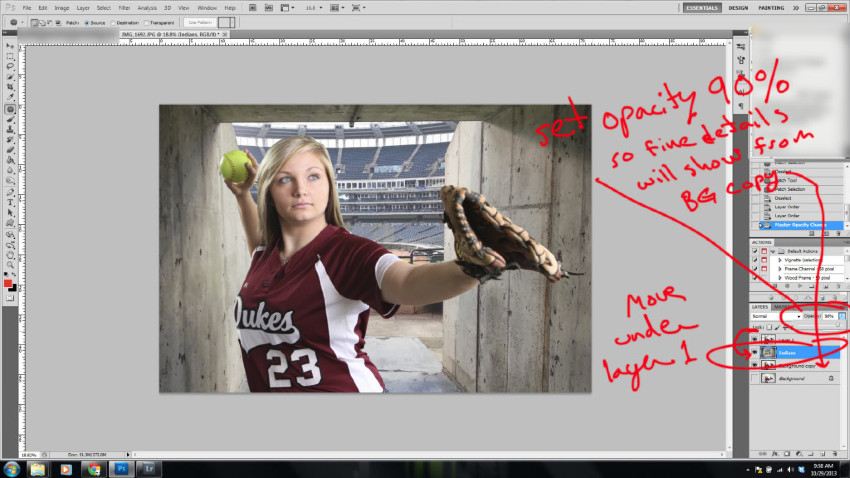
Now that the selection is ready bring in a background of your choice, move it behind the selection and as I mentioned above set the opacity to your preference, I used 90%.
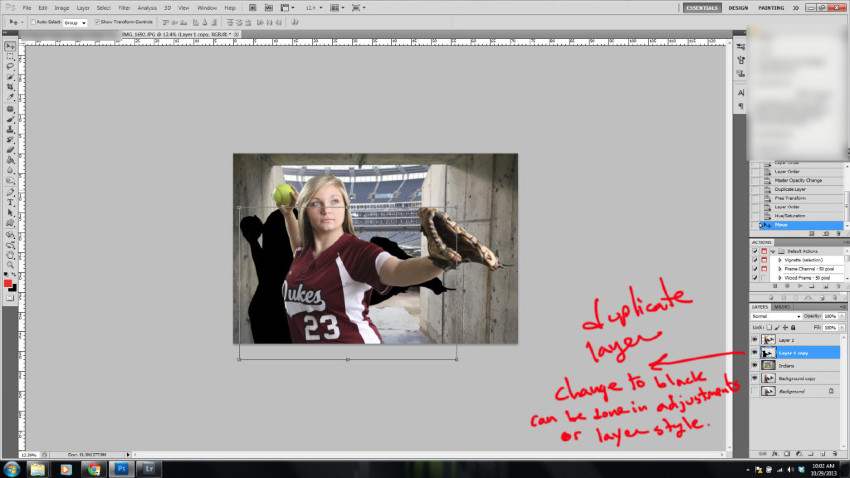
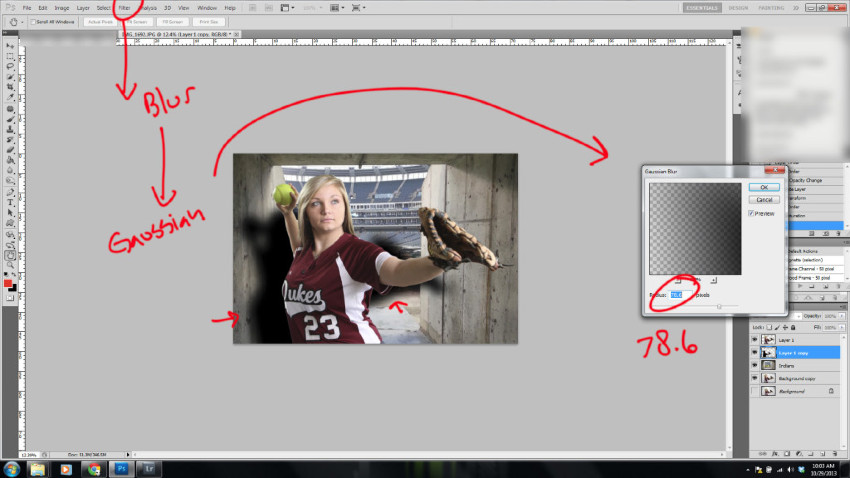
The next step is adding shadow to match the direction of light and again to aim for believability. To do this I duplicate my subject layer set her to black going into Image/adjustments/Hue&Sat then sliding the lightness bar left to black. (There are many options to achieve this; this is how I do it…) Next a scale the shadow done the move where I feel it would be cast from the direction of light. To achieve a more realistic shadow I go to filter/blur/gaussian and slide to the right until I like the look in this case it was 78.
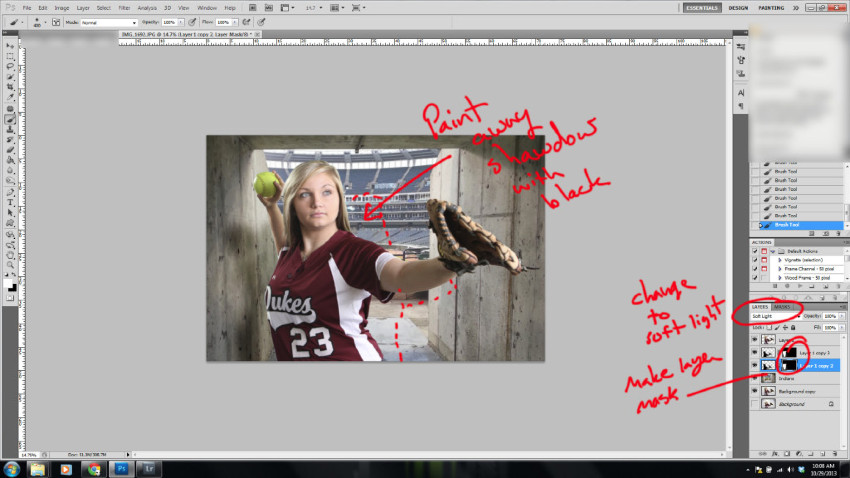
It still looks artificial to me so I go into blending on the shadow layer and change it to soft light. Now make it a layer mask and brush off areas where the shadow should not be visible. *I ended up duplicating the shadow/mask layer to give the shadow a little more darkness. Why didn't I just use overlay or hard light, it had too much contrast for my liking.
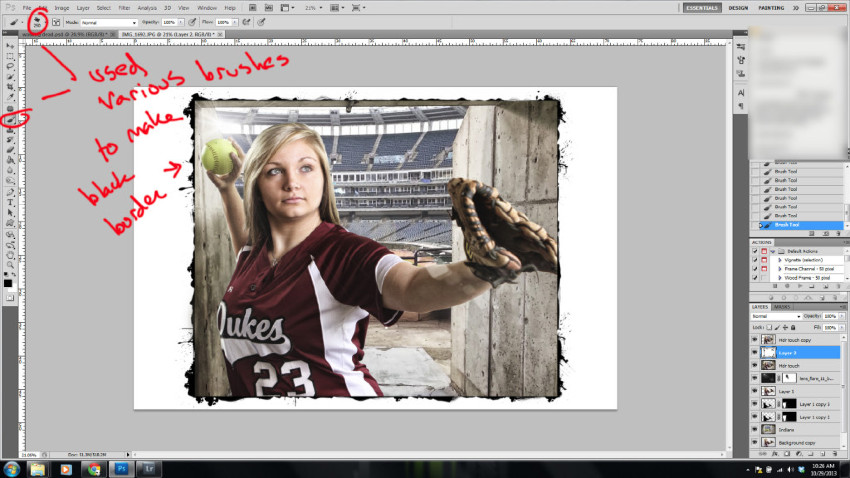
Almost there, as you can see I added some flare and some pop to the image which I will not cover in this tutorial. So now it is time to add the white border and then bring the image past it to help create that 3d effect. There are so many ways to do this and I personally use several ways depending on my image. In this particular demonstration I hand made the border by measuring how far in I wanted it to go. The further the object or body part can extend past the border the more it will look 3d. Let’s start, make a duplicate layer of your image depending on how you finish your image you may need to flatten or merge layers first. (The reason I am going to duplicate this layer is so that after I add a white layer in-between the two I can paint away or back the image or border.)
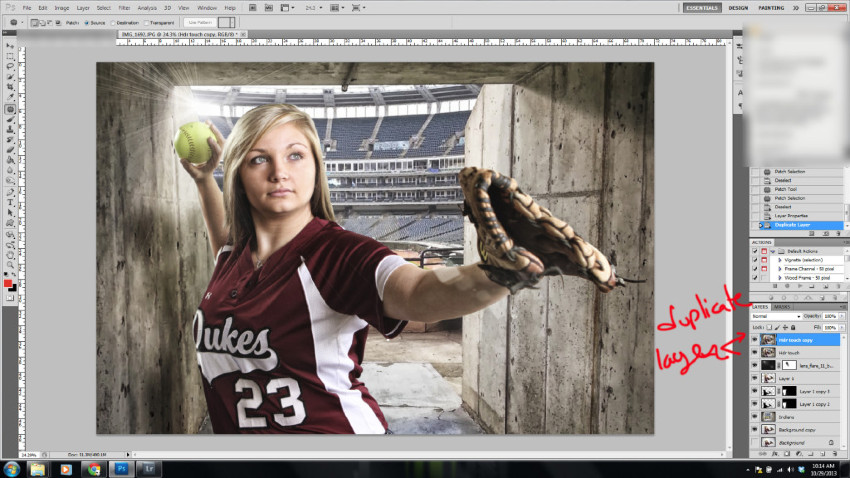
Make a new layer make sure it is white or whatever color you plan to use and place it in-between the two image layers (mine are marked hdr touch and hdr touch copy).

I decide where I want my border and measure and mark it by using guide lines, and then draw a selection along the border, select then inverse selection. On your top image layer erase the selection.
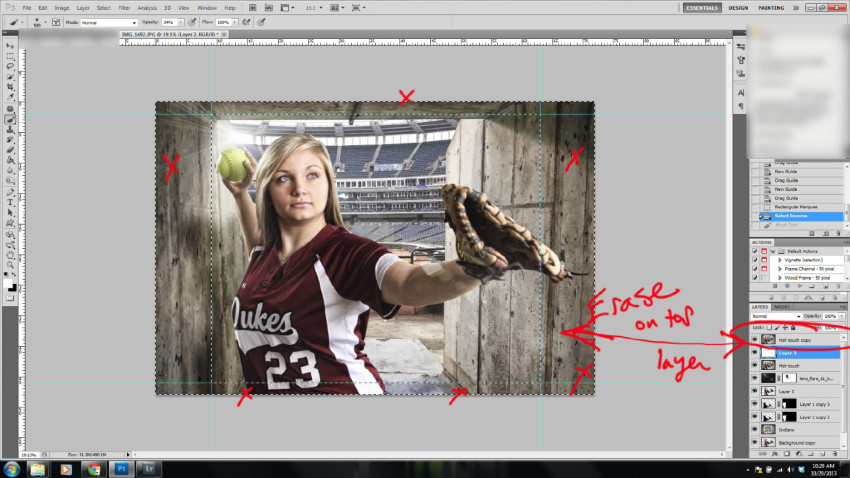
Now move down to the white layer and if you like, add a border, I made a black splatter edge with several different brushes.
Finally nearing the end we are going to select white layer, make it a layer mask and paint back the glove being careful not to include the background. Now sign your piece and you are finished!
Working in PS we all know there are a hundred ways to do the same thing and over time you find the way “you” like to do it, feel free to share any alternate options or questions in the comments section below!
Thanks for reading,